
Shuttie® (Plug-In)
Automatic Water Shut-Off Valve
Note: If you have a Shuttie (Plug-In), install it last.


Standard Install

Add sensor and see install instructions at: alertaq.com/addsensor
If you have purchased Professional Services to pre-register your sensor, skip to step 2.

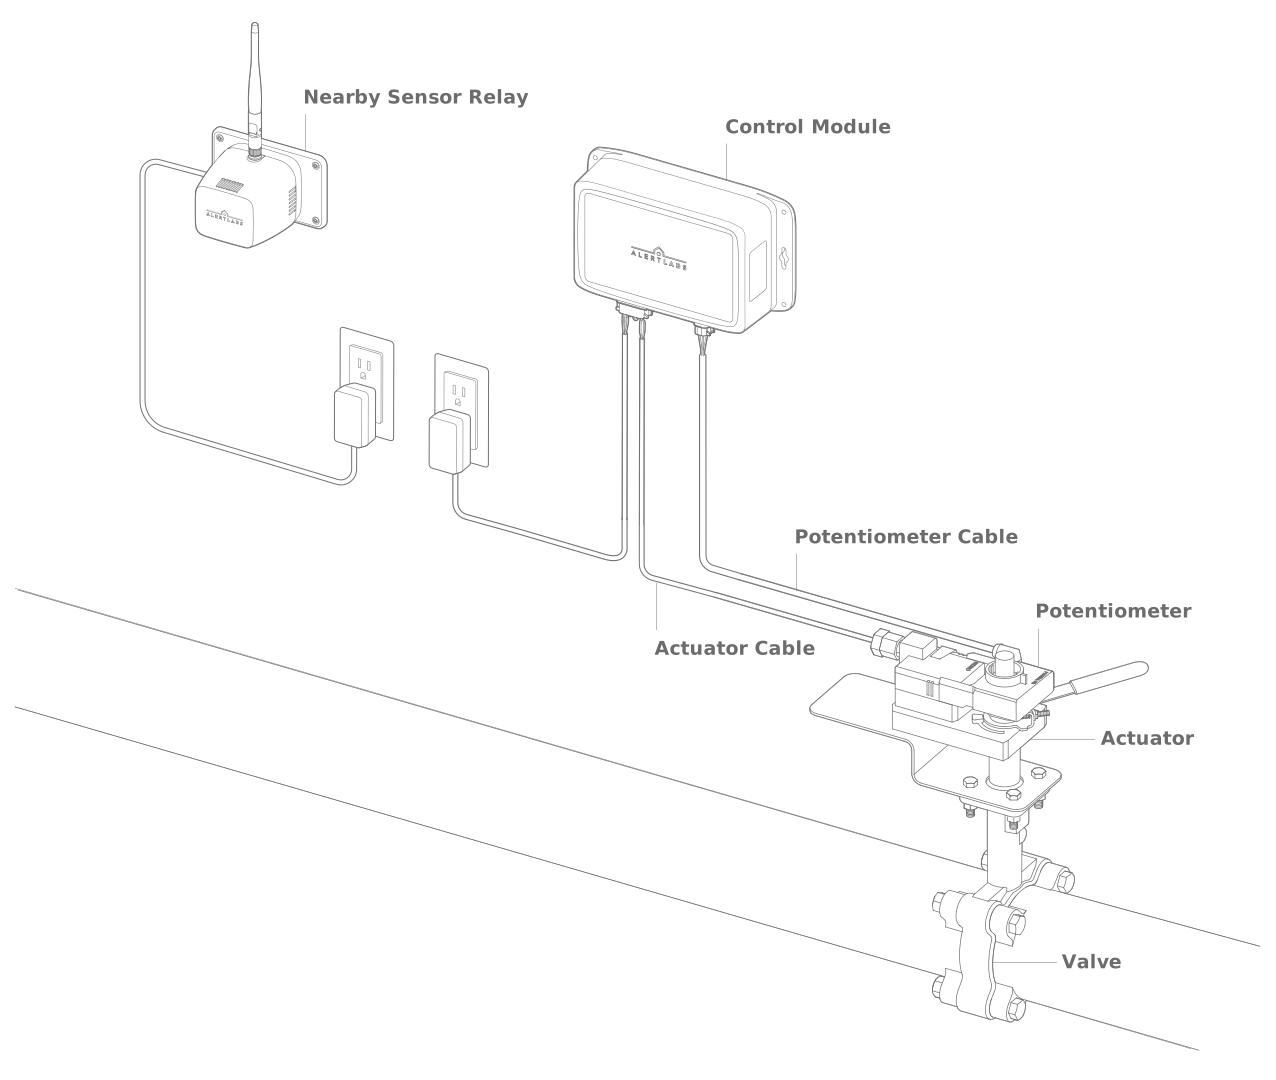
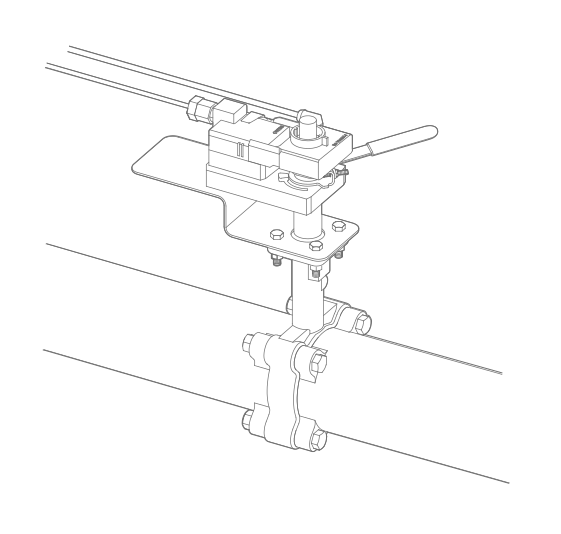
Shut off water and have a plumber install the valve within 9’ (2.75 m) of an available power outlet.
When finished, turn the water back on. See valve spec sheets and install instructions below.

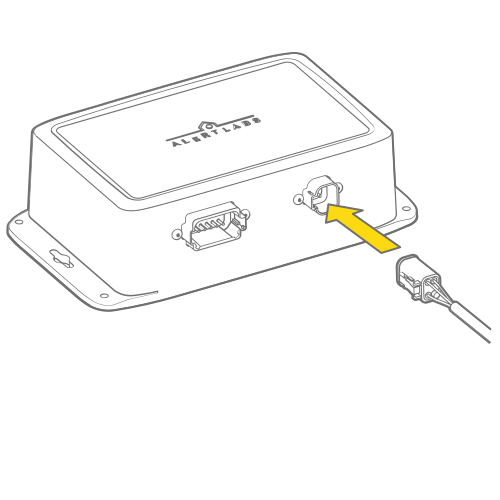
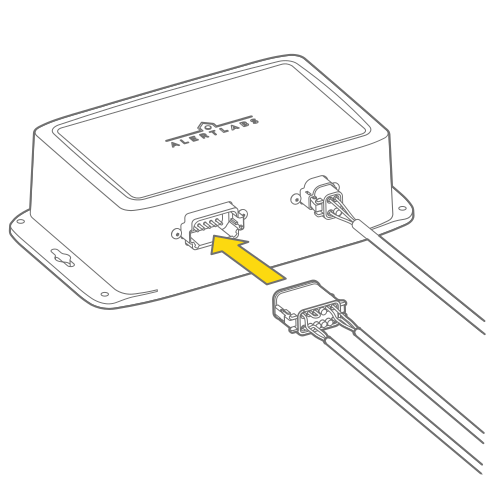
Plug both cables into the black control module.

Plug the power supply into the wall
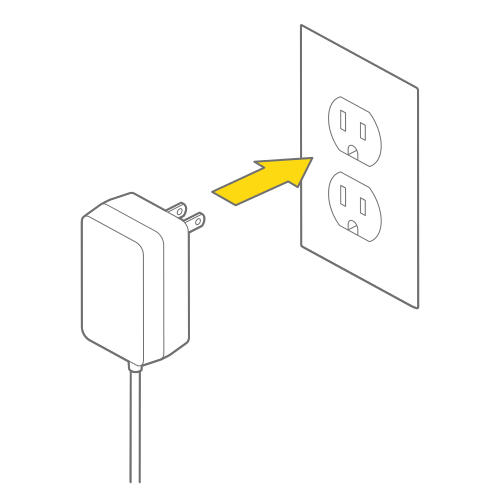

Confirm the LED is green, indicating a good connection.
If it is not, see the troubleshooting guide, or contact support@alertlabs.com.
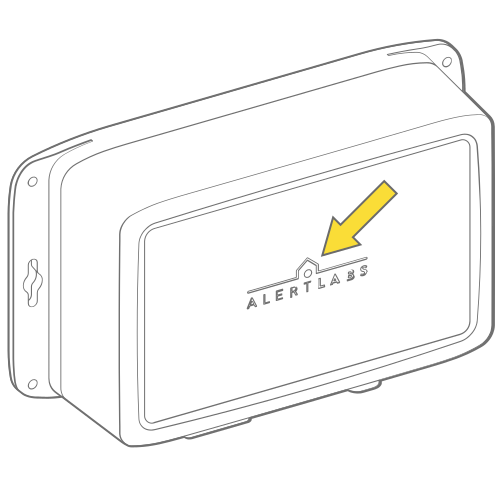

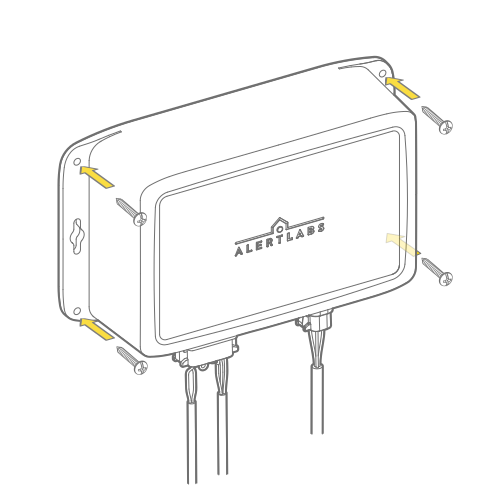
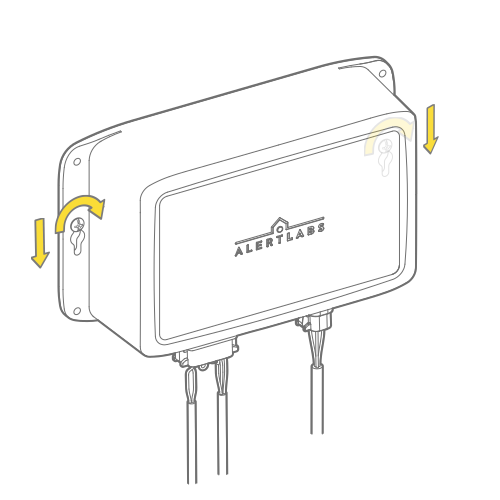
Secure the control module using the provided mounting hardware. Do not mount the control module to the pipe.
If wall mounting, choose the appropriate anchor. No anchor required for wood.
Concrete
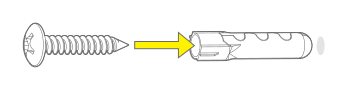
Drywall
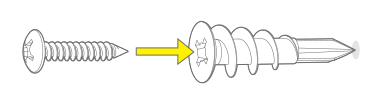
If wall mounting, choose one of two options:
Option A
Option B
Alternatively, you can secure with zip ties.


Test the valve
a) Turn on a tap to run water
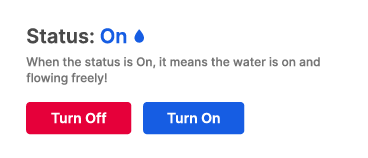
b) Open the AlertAQ™ app on your phone and turn the water off and on.
c) Turn off the tap.

Upload a photo of the installation to the sensor details page in AlertAQ™
To get to the details section of the sensor, select the name of the sensor from the Sensors page. See help article.
Note: If the sensor was not pre-registered, update the name based on its install location, under Edit Details and click Save, then continue with steps a) and b) above.

Actuator & Valve Specifications
