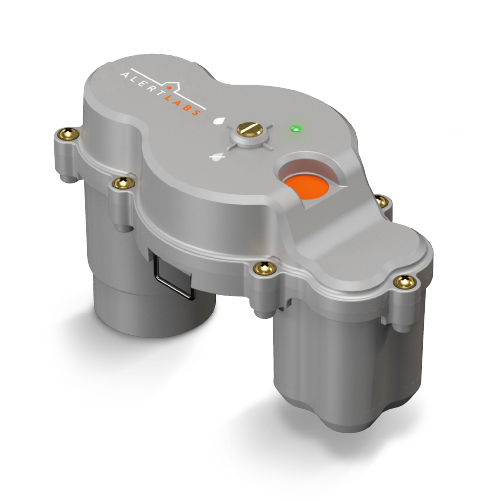
Shuttie® (Battery)
Automatic Water Shut-Off Valve
Note: If you have a Shuttie (Battery), install it last.


Standard Install

Add sensor and see install instructions at: alertaq.com/addsensor
If you have purchased Professional Services to pre-register your sensor, skip to step 2.

Have a plumber install the ball valve
Watch the ball valve install video here

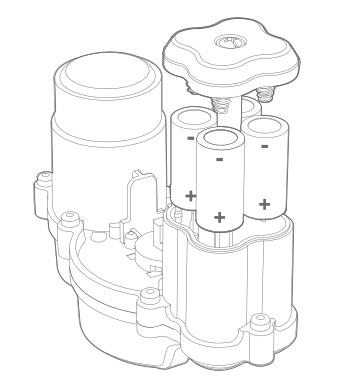
Insert batteries
Remove the plastic wrap, install the 4 batteries, then close the compartment. The light on top of Shuttie will blink white, red and then green. Wait until Shuttie finishes turning the valve before continuing with install.
See what the lights on Shuttie mean.

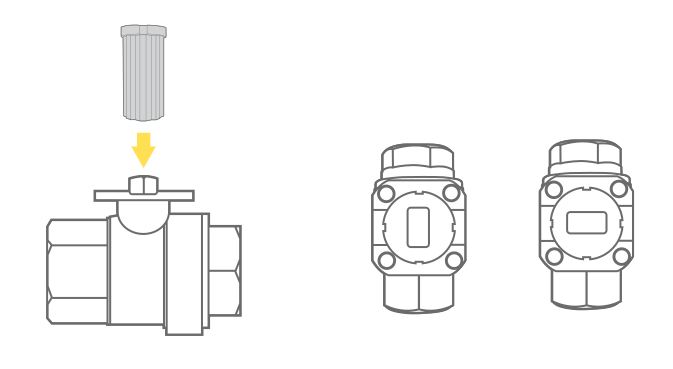
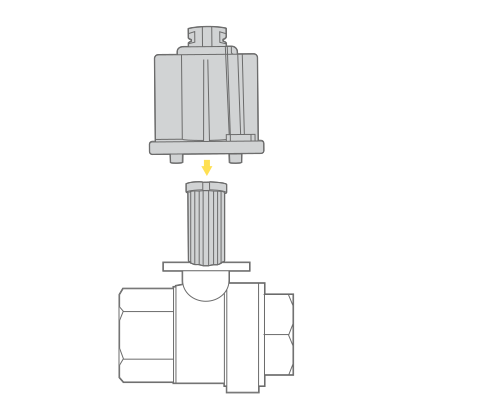
Place the valve adapter insert onto the valve
The direction of the rectangular slot will depend on the type of installation. For inline, the slot should be parallel to the pipe. For perpendicular, the slot should be perpendicular to the pipe.

Slide the actuator mount over the valve adapter

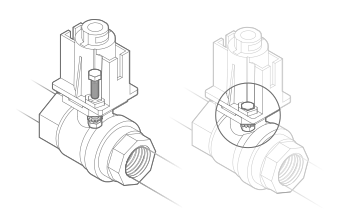
Insert the screws through the mount and valve
Place lock washers onto screws and tighten the nuts.

Make sure Shuttie is set to the open position
When the line of the brass actuator shaft is horizontal, Shuttie is in the open position. If the actuator shaft is in the vertical position, hold the orange button for 5 seconds and then release. Ensure the actuator shaft is now in the horizontal position.
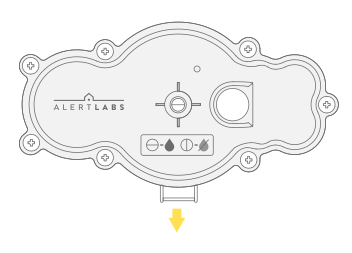

Ensure that the metal locking pin is fully pulled out
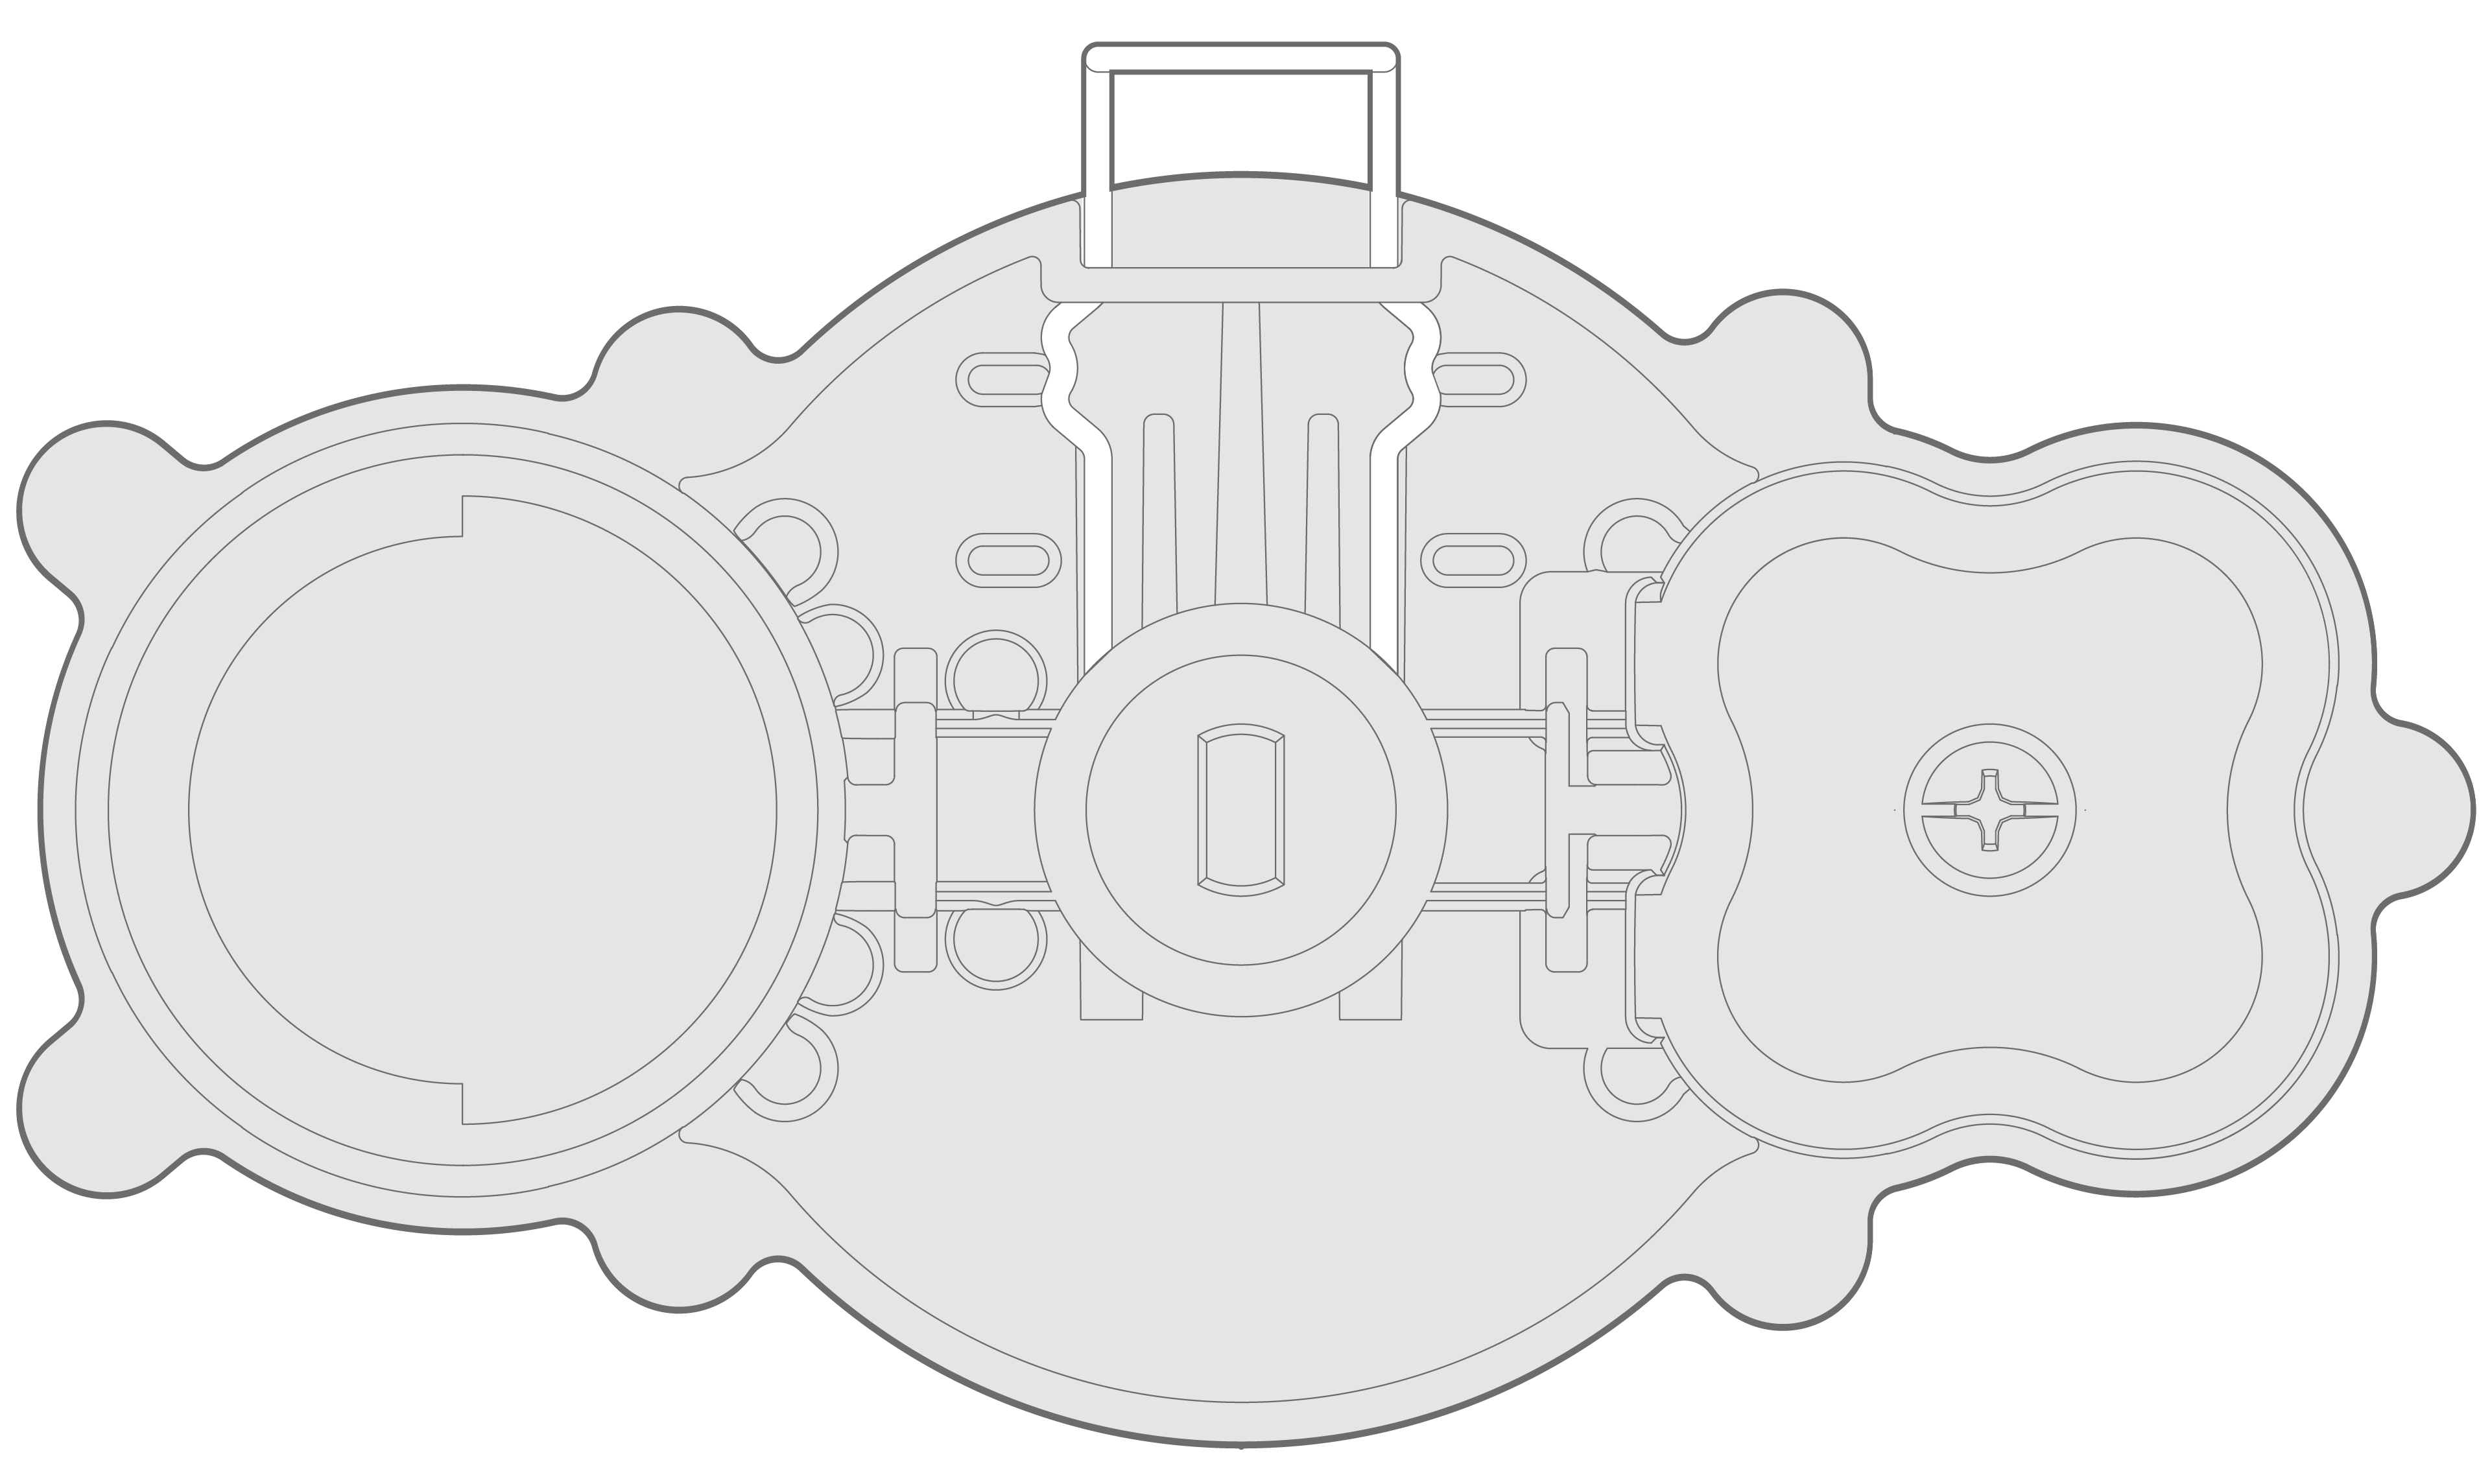
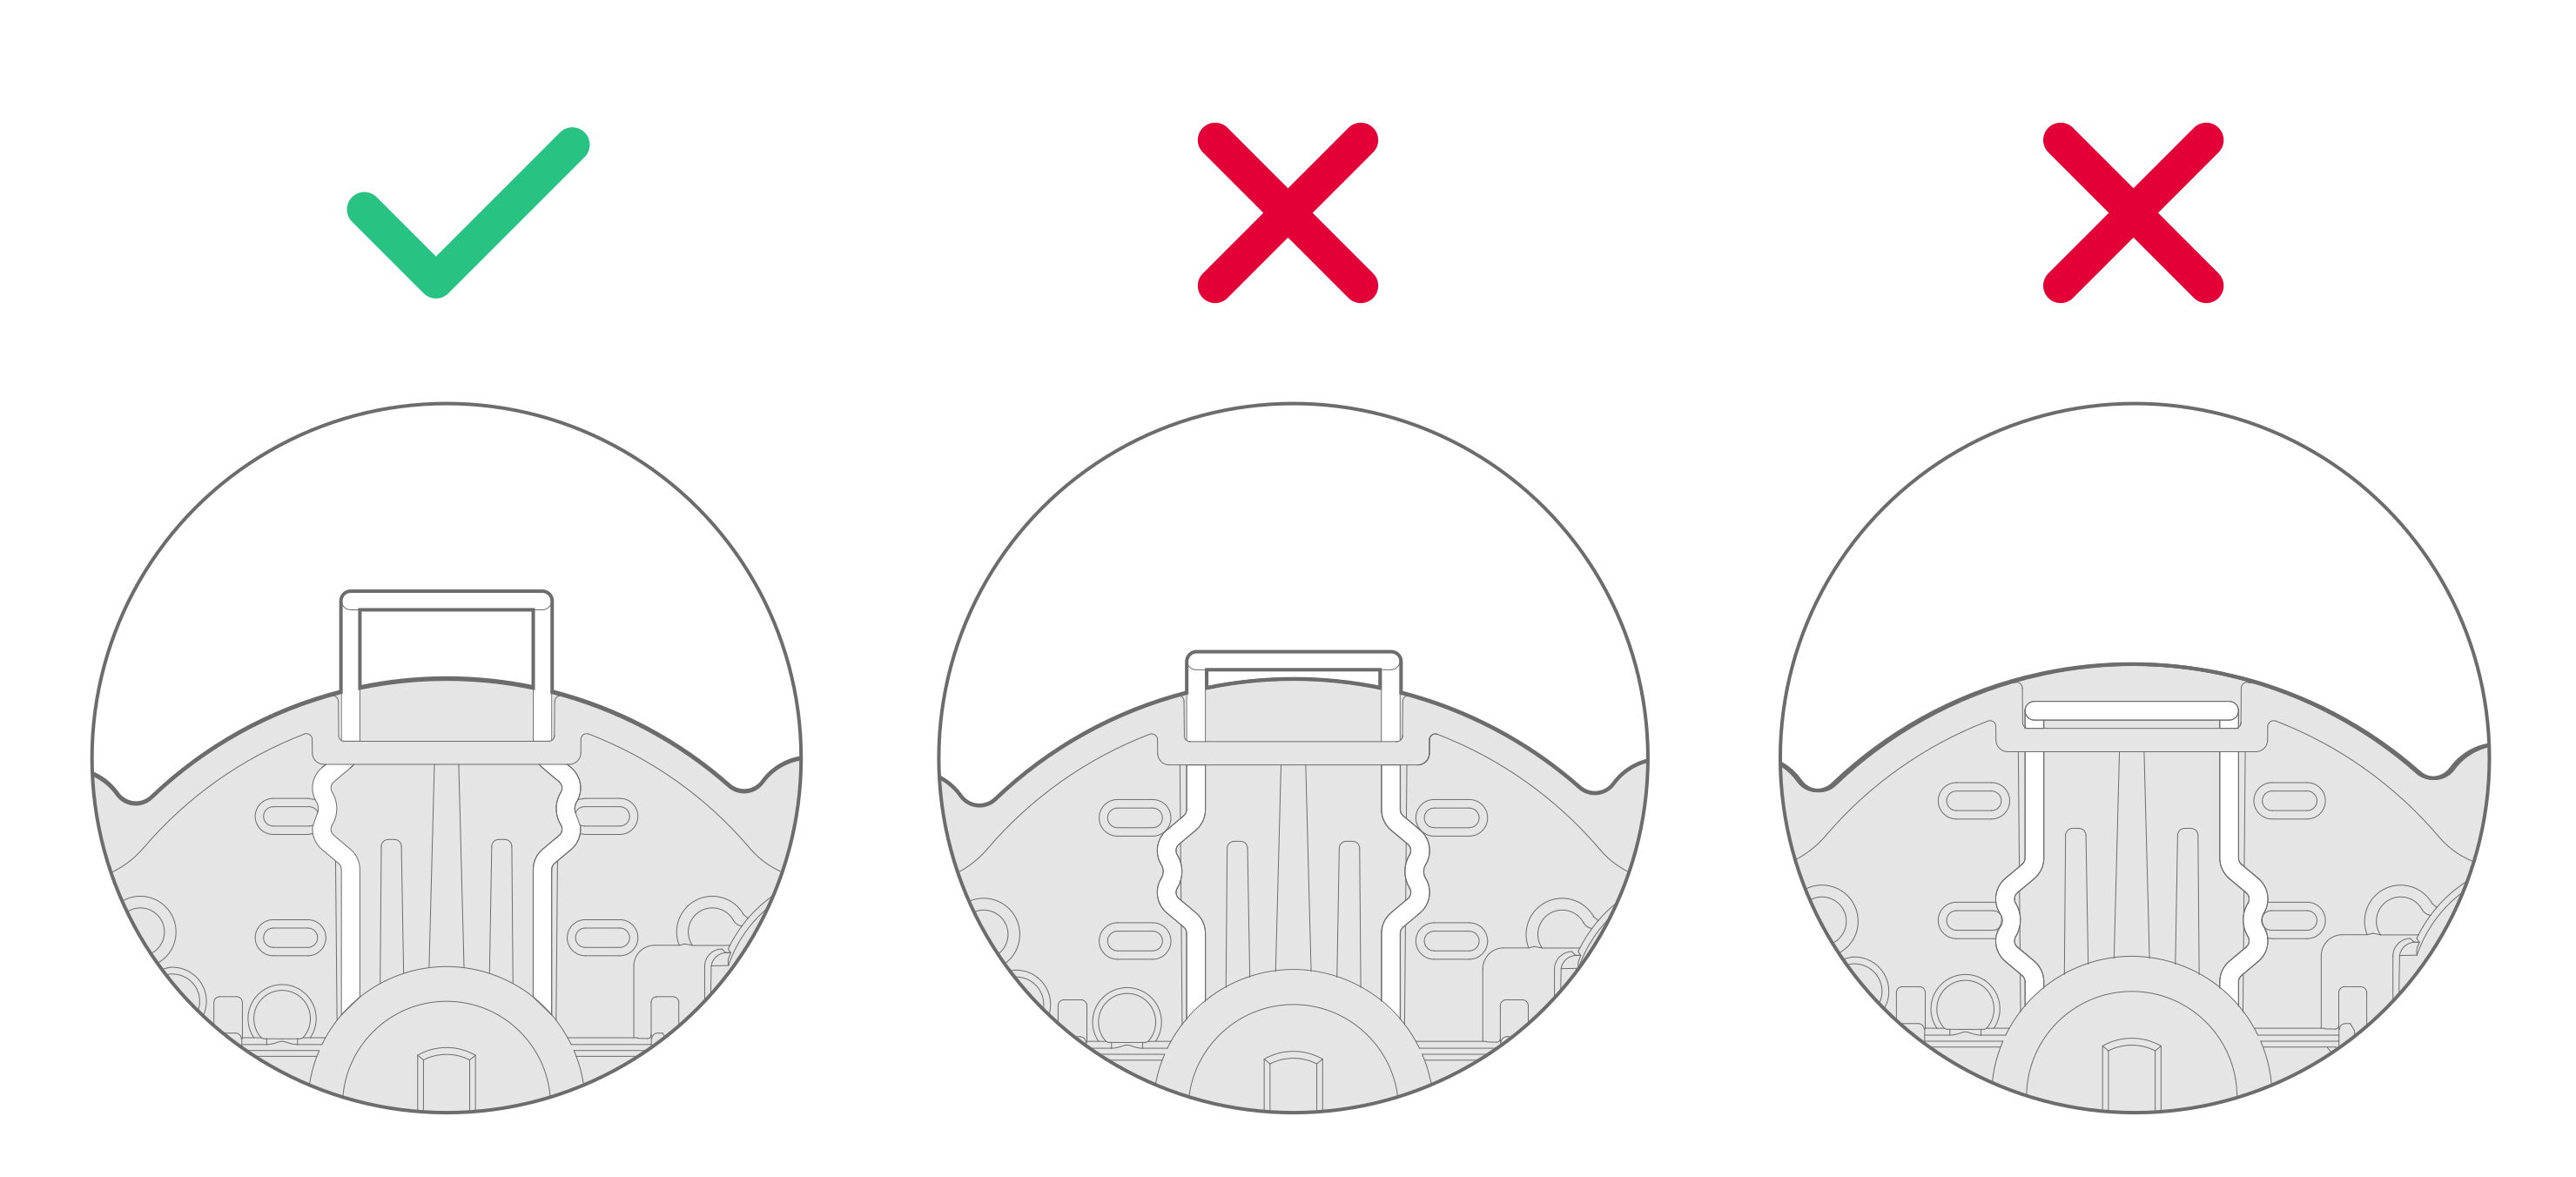

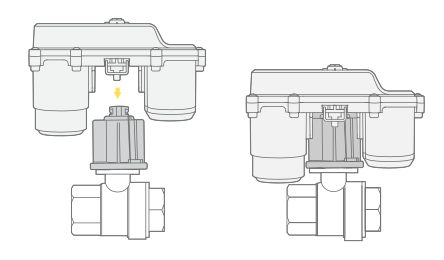
Slide Shuttie onto the actuator mount by inserting the brass actuator shaft into the rectangular slot

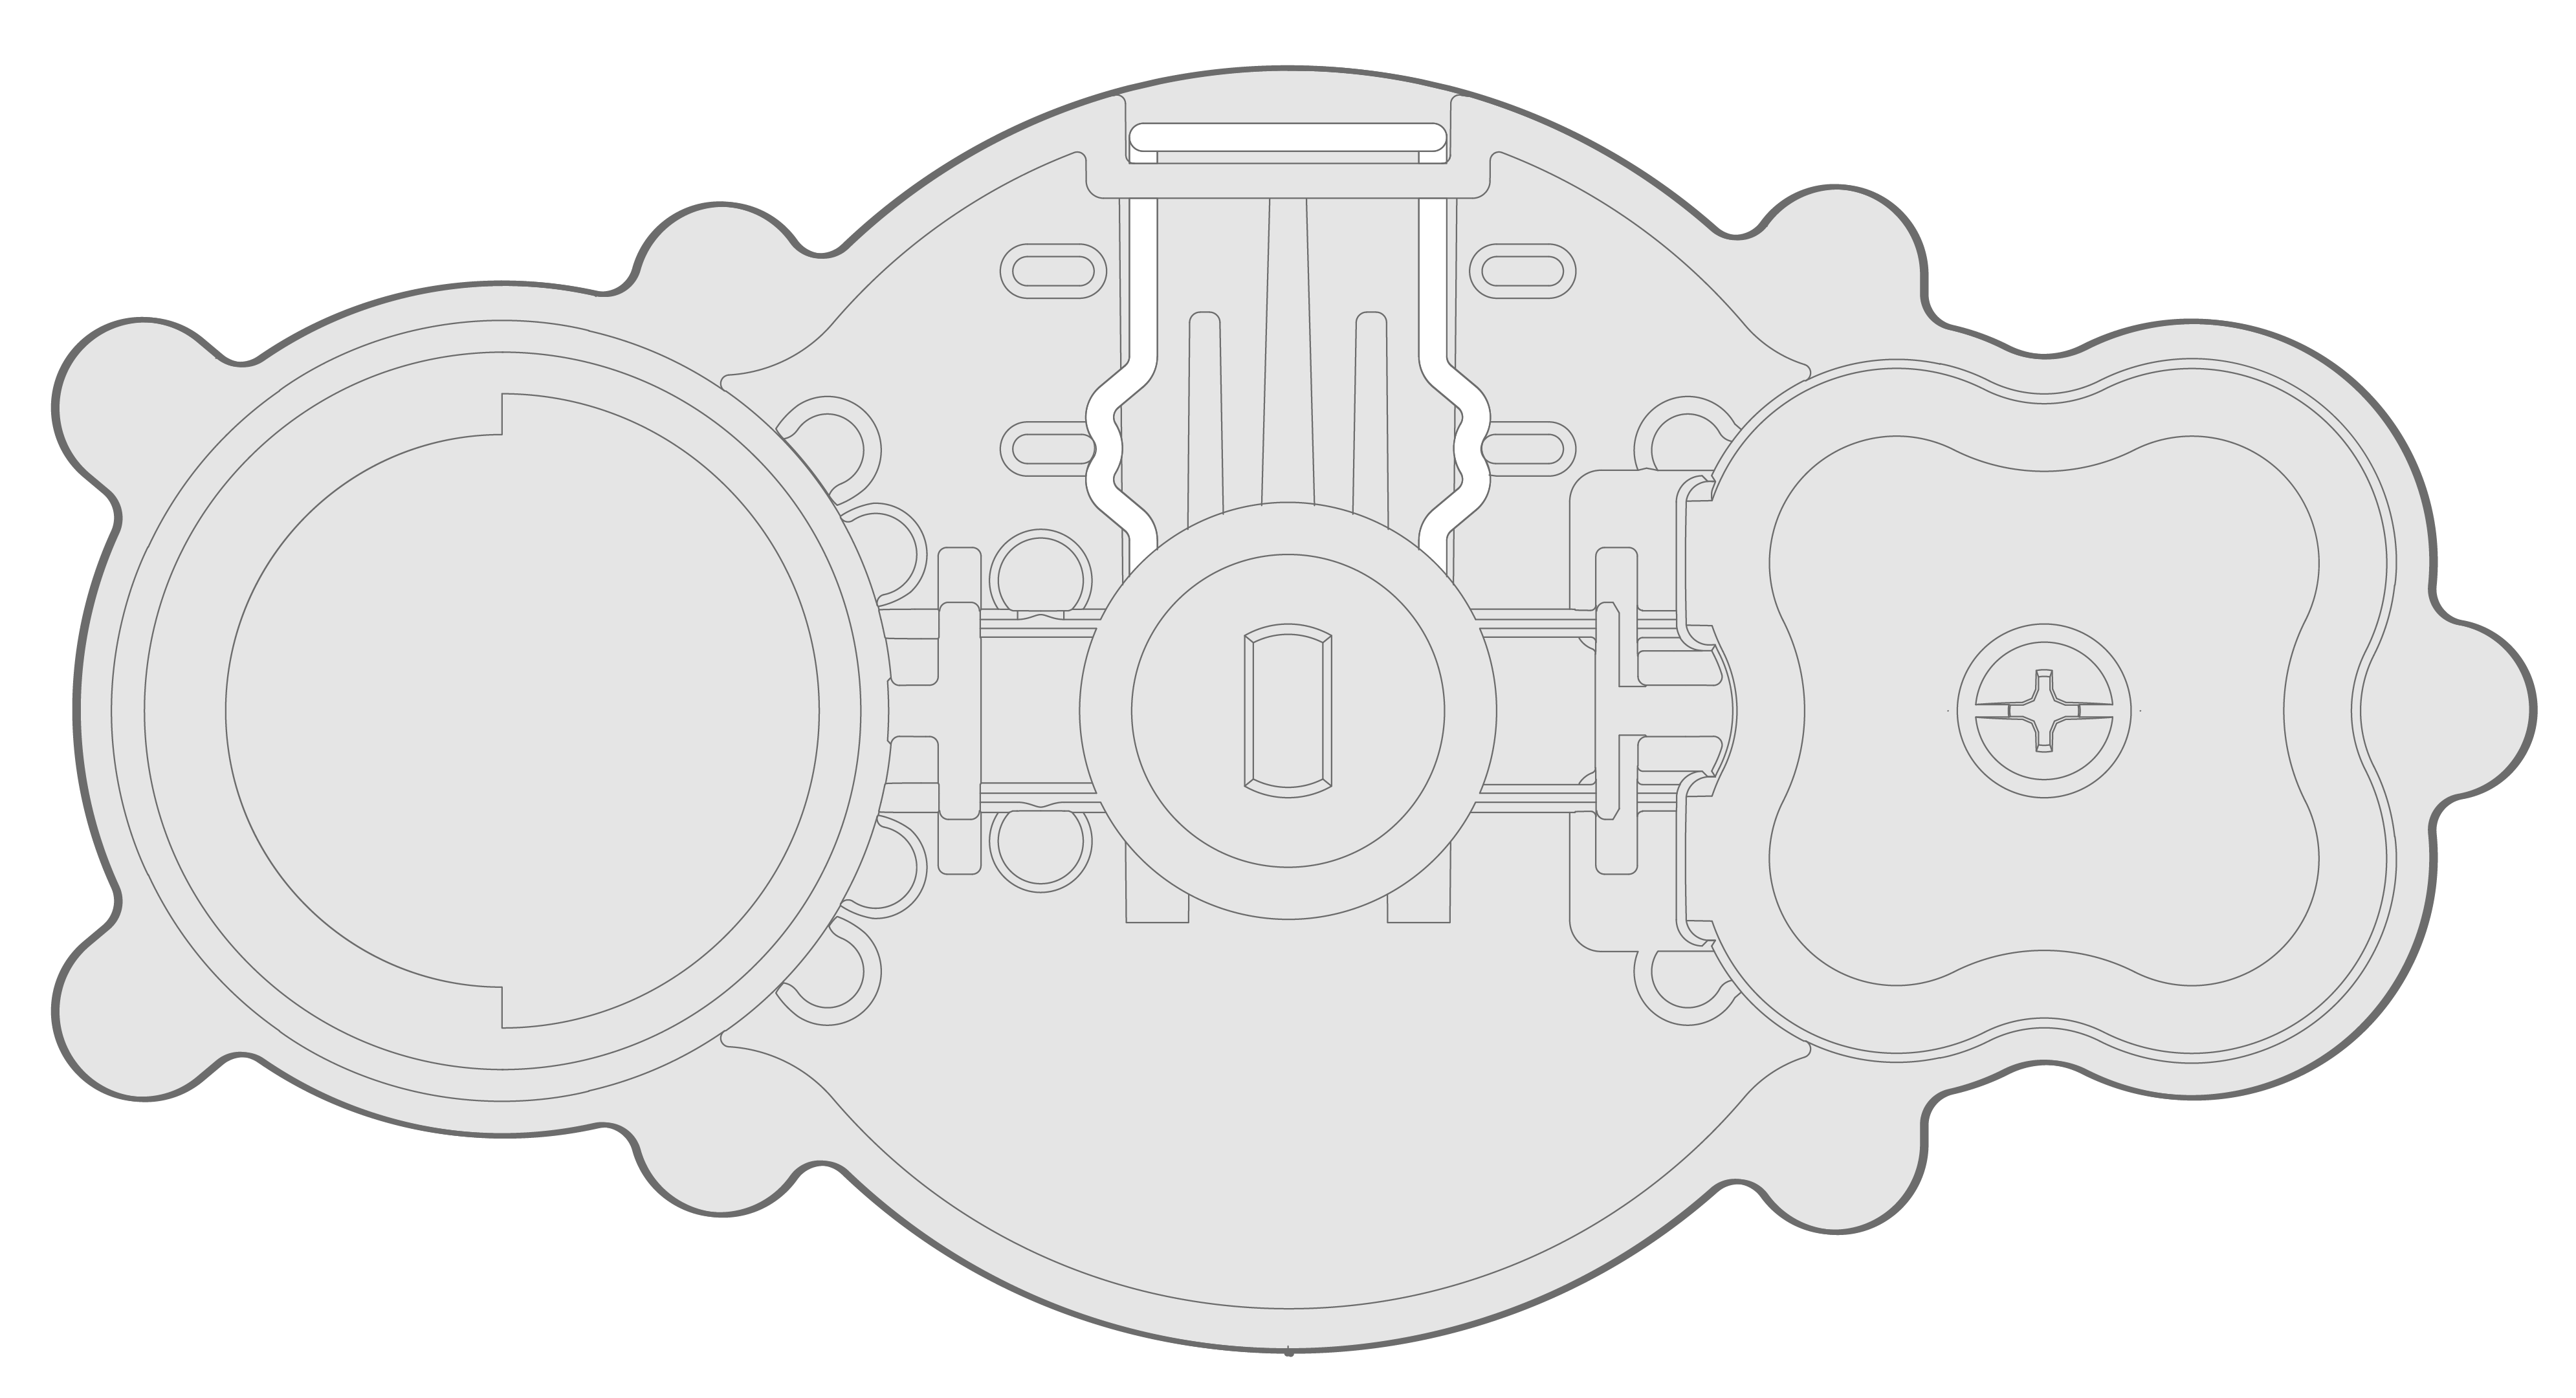
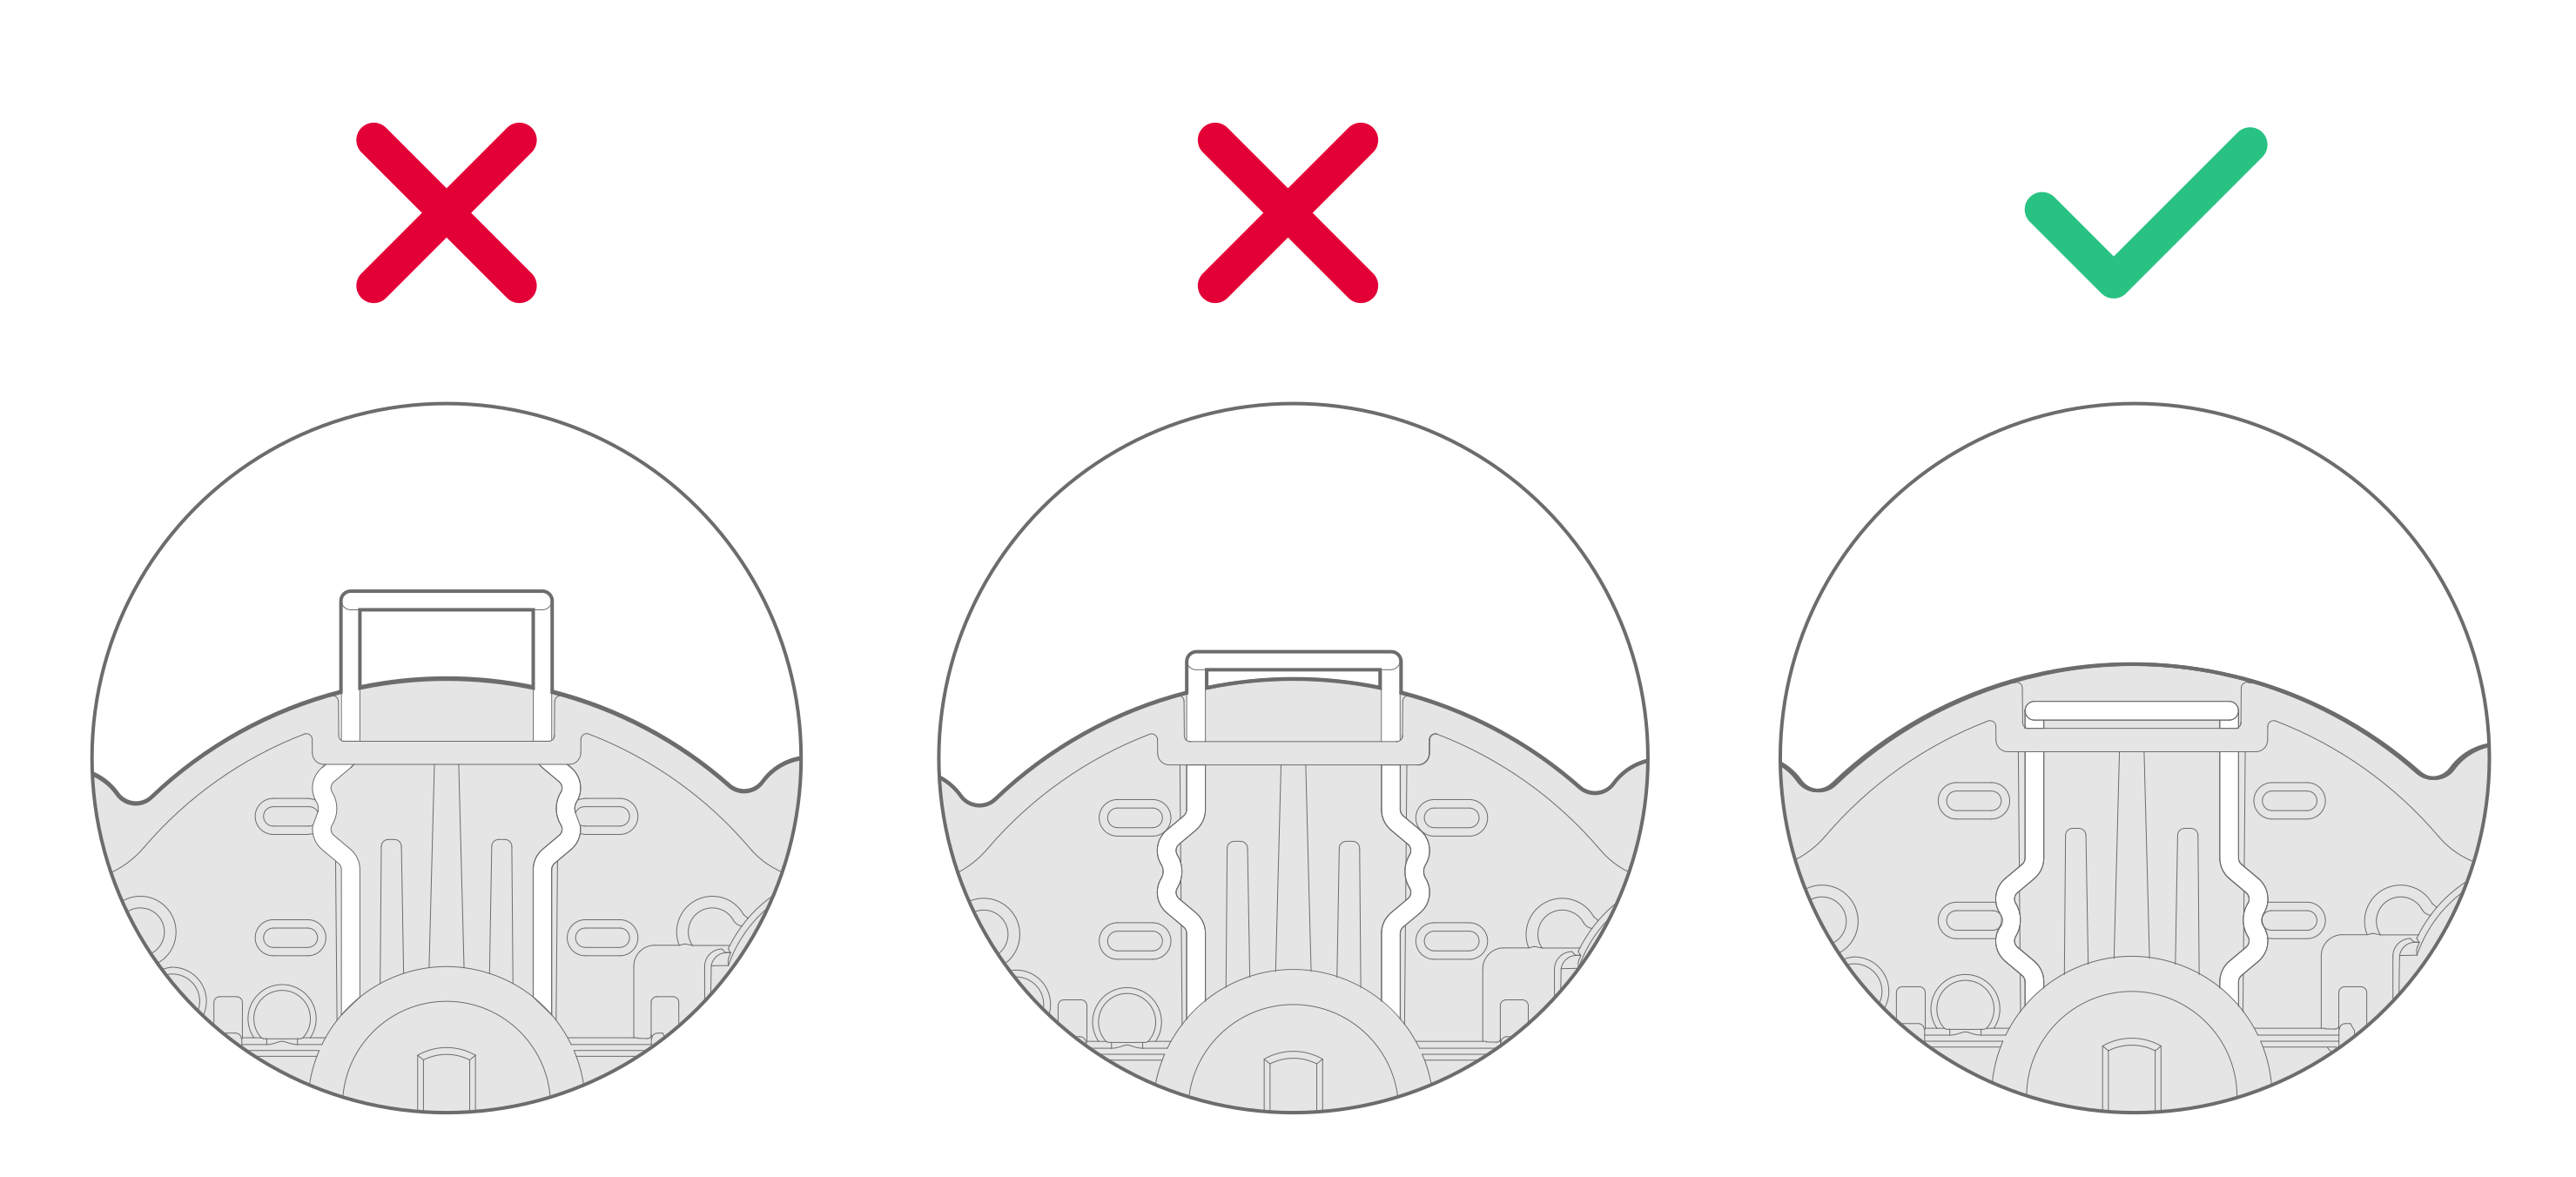
Push the metal locking pin into the grooves on the actuator mount

Test the valve
a) Turn on a tap to run water
b) Turn off the water using Shuttie. Press and hold the orange button for 5 seconds to manually close the valve
c) Turn the water back on using Shuttie.
d) Turn off the tap.

Upload a photo of the installation to the sensor details page in AlertAQ™
To get to the details section of the sensor, select the name of the sensor from the Sensors page. See help article.
Note: If the sensor was not pre-registered, update the name based on its install location, under Edit Details and click Save, then continue with steps a) and b) above.