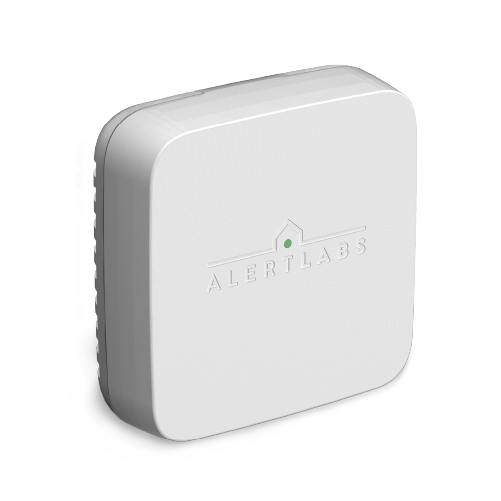
Humie
Humidity & Temperature Sensor

When placing or securing Humie, consider sources of heat gain/loss or other obstructions that may lead to inaccurate readings.
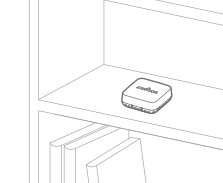
If placing Humie on a flat surface (e.g., on a shelf), it is recommended to place it approximately 4 ft. (1.2 m) off the floor. If installing on a wall with provided wall anchor, hang Humie at the midway point between the floor and ceiling (similar to a thermostat).
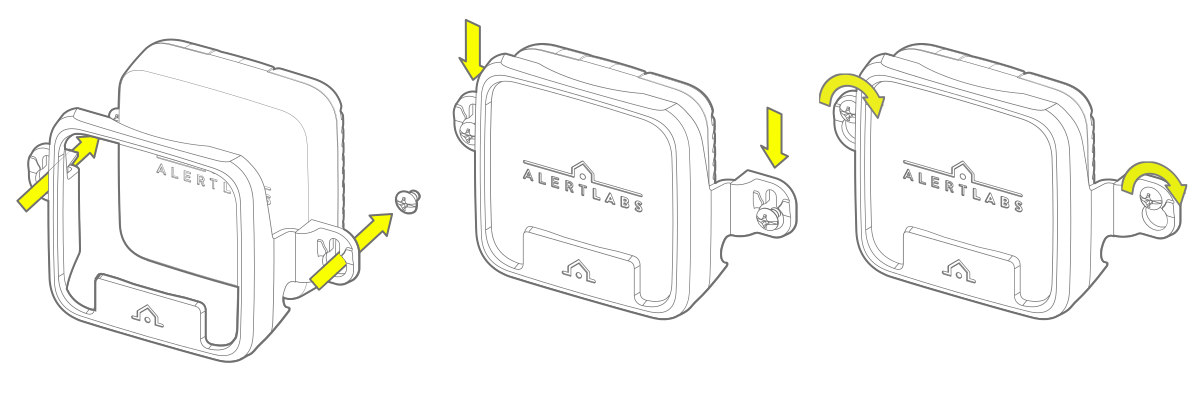
Humie can also be securely fastened to the wall with an Alert Labs mounting bracket (sold separately) to help prevent it from being moved.

Standard Install

Add sensor and see install instructions at: alertaq.com/addsensor
If you have purchased Professional Services to pre-register your sensor, skip to step 2.

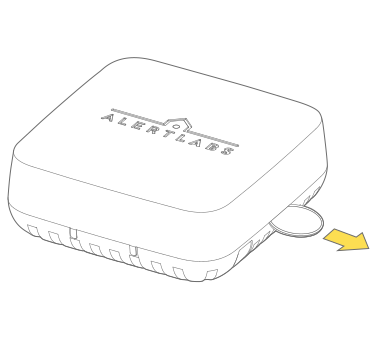
Pull the tab to activate the batteries

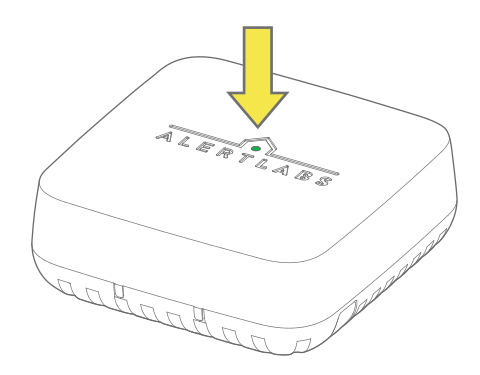
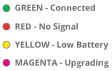
Confirm the LED is green
See troubleshooting if it is not.

Place in the desired location
Ensure the device won't get wet.

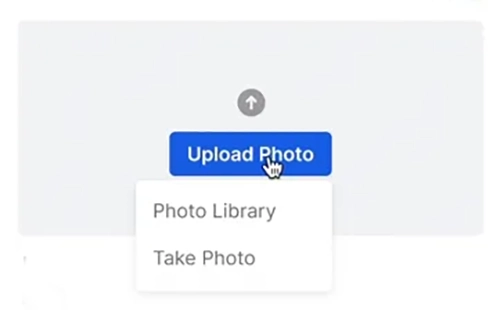
Upload a photo of the installation to the sensor details page in AlertAQ™
To get to the details section of the sensor, select the name of the sensor from the Sensors page. See help article.
If your sensors were not pre-registered, update the sensor name based on its installation.
Wall Mounted Install
Add sensor and see install instructions at: alertaq.com/addsensor
If you have purchased Professional Services to pre-register your sensor, skip to step 2.
Pull the tab to activate the batteries
Confirm the LED is green
See troubleshooting if it is not.
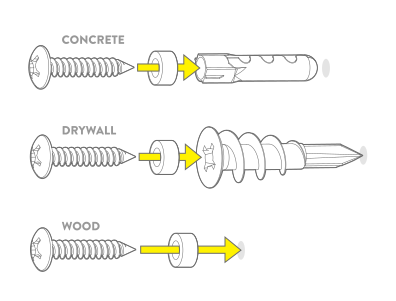
Prepare anchor point
Choose the appropriate anchor for the wall you are mounting Humie to
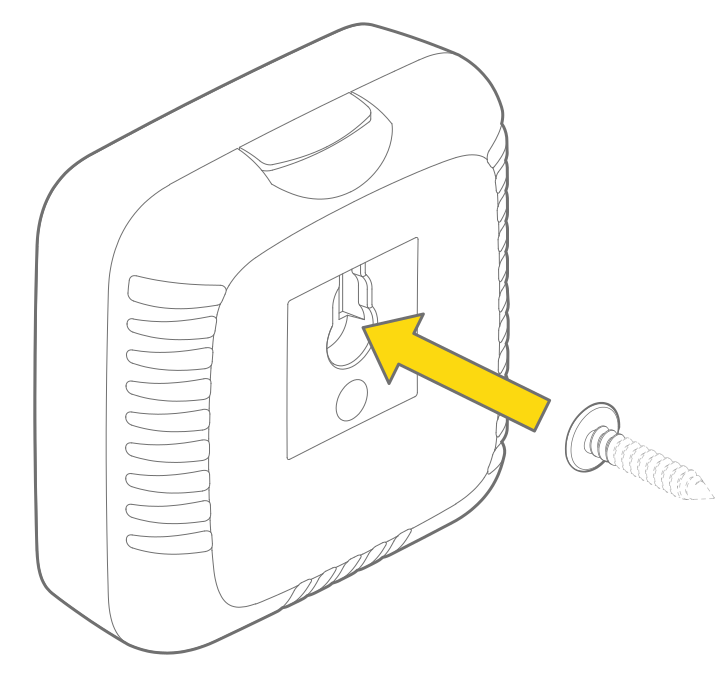
Mount sensor to screw
Place the screw into the back of Humie and slide the device down to lock in place
Upload a photo of the installation to the sensor details page in AlertAQ™
To get to the details section of the sensor, select the name of the sensor from the Sensors page. See help article.
If your sensors were not pre-registered, update the sensor name based on its installation.
Mounting Bracket Install
Add sensor and see install instructions at: alertaq.com/addsensor
If you have purchased Professional Services to pre-register your sensor, skip to step 2.
Pull the tab to activate the batteries
Confirm the LED is green
See troubleshooting if it is not.
Choose and install the appropriate anchor
Partially insert the screws into the wall, leaving a small gap
Place the sensor into the mounting bracket
The logo should be upright and visible. Slide both holes into position on the screws. Tighten screws until snug.
Upload a photo of the installation to the sensor details page in AlertAQ™
To get to the details section of the sensor, select the name of the sensor from the Sensors page. See help article.
If your sensors were not pre-registered, update the sensor name based on its installation.
